

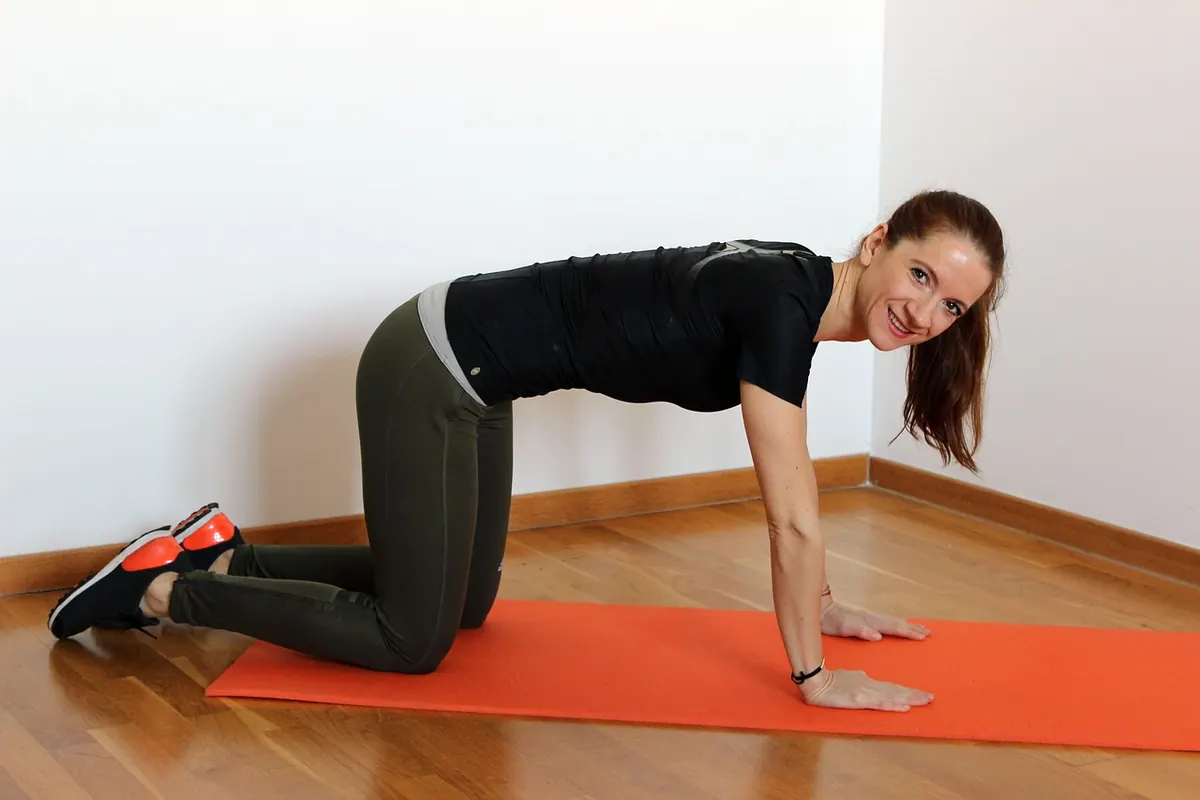
Lower back pain is one of the most common reasons people try yoga, and also one of the most common reasons a first class goes badly. The difference usually isn't the style of yoga or the teacher's experience. It's preparation. Ten minutes of thinking before you walk into the studio can be the difference between leaving looser and leaving sore for three days. Here's what to sort out before your first class.
Know Your Own Pattern First
Before you can ask for the right modifications, you need to know what actually sets your back off. Spend a day or two paying attention. Does the pain sit on one side or spread across the whole lower back? Is it worse after sitting, or worse after standing? Does bending forward ease it or make it sharper? Does lying on your back with knees bent help?
Most people with everyday lower back pain find that gentle movement helps and long static positions hurt, but that's a general pattern, not a rule. Your own pattern is the useful one. Write three or four lines in your phone so you don't have to reconstruct it while standing in a crowded studio.
If your pain started after an injury or a fall, if it runs down a leg, or if you have numbness, tingling or weakness anywhere in the leg or foot, see a doctor or physiotherapist before class rather than working around it. Yoga is a good tool for many backs, but it isn't a diagnosis.
What to Tell Your Instructor
Arrive ten minutes early and say something concrete. Vague statements like "I have a bad back" give a teacher very little to work with. Specific ones change how they teach the room.
Useful things to hand over:
- Where it hurts and whether it's one side or both.
- What makes it worse — forward folding, twisting, long sitting, backbends.
- What makes it better — walking, lying down, knees to chest.
- How long it's been going on, and whether it's new or a long-standing pattern.
- Anything a clinician has told you, in plain words.
- Whether you'd like hands-on adjustments or prefer to be left alone.
A sentence like this does the job: "My lower back aches on the right side, mostly after sitting. Forward folds with straight legs make it sharper. I'd like a modification for those, and please skip adjustments on my lower back." That's clear, quick, and it lets the teacher plan instead of guess.
Also ask where the props live, whether there's a slower class on the schedule, and whether you can leave early if you need to. All three answers are useful.
Props Are Not a Beginner's Crutch
Blocks, straps, blankets and bolsters are how experienced teachers keep their own backs comfortable. Grab them before class starts so you're not hunting mid-flow.
What each one does for a sore back
- Two blocks: bring the floor closer in forward folds and half squats so you don't round your spine to reach.
- A strap or belt: extends your arms in seated forward folds and hamstring stretches, which keeps the pull out of your lower back.
- A firm blanket: folds under your hips when sitting, or under your knees when lying down. Both take strain off the lumbar area.
- A bolster: supports your knees in savasana, or your upper back in a gentle chest opener.
- A wall or a chair: the most underrated props in the room. Both let you do standing poses and downward dog at an angle that works for your back.
Poses You'll Probably Modify
Tell the teacher you'll be taking the modified version of these, and then take it without apology.
Forward folds
Standing and seated folds are the usual suspects for sharp lower back pain. Bend your knees generously, put your hands on blocks or your thighs, and stop the moment the fold moves from your hamstrings into your lower back. In a seated fold, sit on a folded blanket and loop a strap around your feet so you can keep your spine long instead of curling to reach.
Downward dog
Bend your knees as much as you need. The pose doesn't require straight legs. If it still feels wrong, do it with your hands on a wall or the back of a chair — same shape, much less load through the spine.
Backbends
Cobra and upward dog ask a lot of the lumbar spine. Sphinx on the forearms is a gentler option, and keeping the bend low and the legs active is better than pushing height. Skip deep backbends such as wheel unless a teacher who knows your back has cleared you for them.
Twists
Lying twists with knees supported are usually comfortable. Seated twists where you hook an elbow outside a knee and crank are not, for most tender backs. Stay upright, twist from the ribcage, and keep the movement small.
Savasana
Lying flat can be the worst position of the class for some people. Slide a bolster or a rolled blanket under your knees until your lower back feels supported rather than compressed.
Warning Signs to Stop Immediately
Discomfort that feels like a stretch and fades when you come out of the pose is normal. These are not:
- Sharp, shooting or electric pain at any point.
- Numbness, tingling or pins and needles in a leg or foot.
- Weakness, or a leg that suddenly feels unreliable.
- Pain that keeps building while you hold the pose.
- Pain that lingers well after class, or wakes you that night.
Come out of the pose, rest with your knees bent, and tell the teacher. Leaving one pose early is always cheaper than losing a fortnight to a flare-up.
Plan the Day After, Too
Notice how you feel the next morning, not just in the car park. A short walk, some gentle knees-to-chest movement and a couple of minutes of lying with your calves on a chair will tell you a lot. If the class left you stiffer than before, the modifications were probably too ambitious — go gentler next time, or try a slower class with more props and longer holds.
Keep a two-line note after each class: what you did and how your back felt the next day. After three or four sessions you'll have a personal pattern that's worth more than any general rule.
Your First-Class Plan
Arrive early, introduce yourself with specifics, take two blocks and a blanket to your mat, and sit near the wall. Choose the modified version of every forward fold and backbend without waiting to be offered it. Stop at any sharp or radiating pain, and leave the room if you need to. Then judge the class by tomorrow morning, not by how deep you went today.
Done that way, yoga becomes one of the steadier tools you have for a cranky lower back — not a test of how much you can tolerate.
Photo: alvoi / Pixabay